
What This Routine Targets
Topical care only succeeds when actives reach the places fungi cling to—lateral nail edges, the cuticle line, and the underside of the free edge. To address those zones, the routine pairs multi-oil antifungal support with a light carrier phase and gentle conditioners so users can manage both fungal burden and the day-to-day comfort/appearance of nails and surrounding skin.
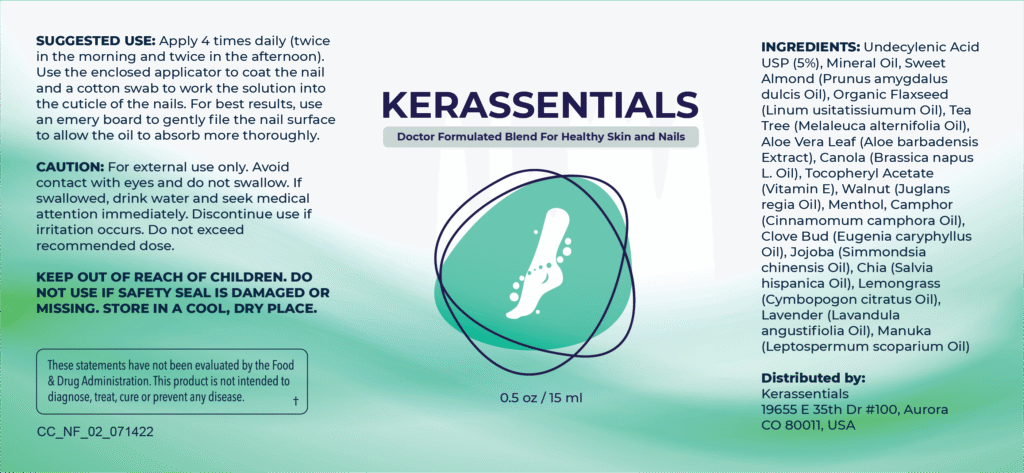
Multi-Oil Antifungal Support
A blend of tea tree (terpinen-4-ol), clove (eugenol), and manuka provides well-referenced activity against common dermatophytes and yeasts on nails and skin. Undecylenic acid—a castor-derived fatty acid long used in athlete’s foot formulas—helps create an antifungal-leaning surface. Taken together, a multi-oil profile offers breadth and potential synergy compared with single-ingredient products.
Light Carrier Phase & Smart Placement
A lightweight oil phase (with carriers such as isopropyl palmitate) spreads easily and wicks into micro-channels at the nail edge and under the tip. As a result, actives can persist where thicker creams often struggle. Moreover, the brush + cotton-swab method improves mechanical placement along hard-to-reach borders without heavy occlusion.
Soothe & Support Adherence
Daily regimens falter if the surrounding skin becomes irritated. Aloe vera and lavender offer soothing support, helping reduce the look of redness and irritation. Better comfort typically improves adherence over the weeks required for visible nail change.
Condition During Regrowth
Vitamin E, sweet almond oil, and omega-3–rich oils (flaxseed/chia) condition nails and periungual skin—so brittleness appears reduced and cuticles look smoother as new clear plate emerges. Consequently, the routine doesn’t feel merely medicinal; it conditions the area throughout the process.
Ongoing Use to Discourage Recurrence
Even after the visible portion looks clear, residual risk can remain from shoes, wet floors, or untreated skin. Accordingly, maintain a light once-daily phase for a short period and pair the routine with footwear hygiene and tool disinfection to keep the surface less hospitable to re-seeding.
How to Apply (Step-by-Step)
Trim & clean nails; dry thoroughly.
Brush a thin layer along the lateral edges, cuticle line, and under the free edge.
Wick product into borders with a cotton swab (no heavy occlusion).
Allow to air-dry a few minutes before socks/shoes.
Repeat as directed; sanitize nail tools and rotate/air shoes.
Expected Timeline (Guided by Nail Biology)
Weeks 1–2: many users report comfort gains (less itch/odor/tenderness).
Weeks 3–4: a clearer crescent may appear at the base as new nail grows out.
Weeks 8–12+: progressive replacement of affected segments becomes visible; severity and growth rate determine pace.
Mechanism Summary
In short, the routine aims to (a) lower fungal burden, (b) reach edges/undersides where organisms persist, (c) soothe skin to keep use sustainable, and (d) condition nails during regrowth—while (e) pairing with simple hygiene behaviors to reduce recurrence pressure.